Chocolate Hazelnut Thumbprint Cookies
Uitgelicht onder: Creatieve bakideeën
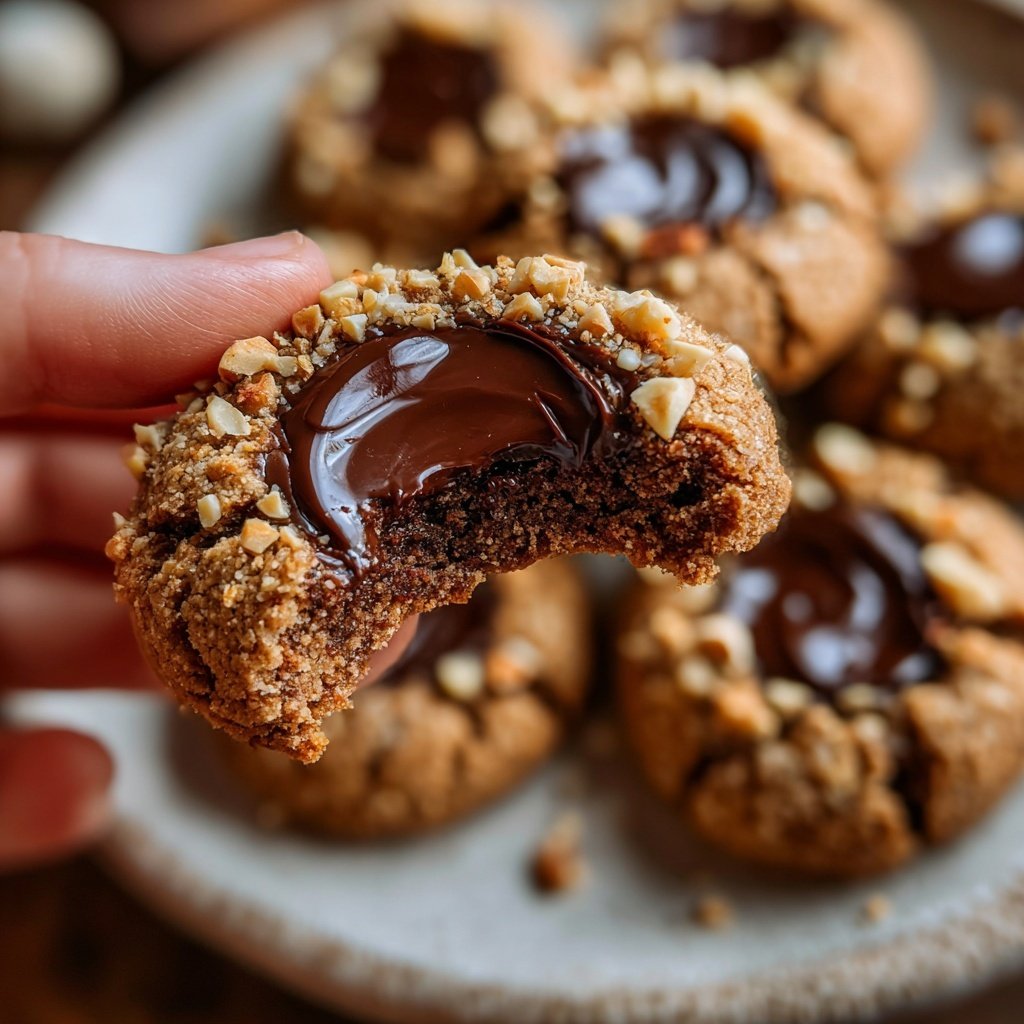
I absolutely love making Chocolate Hazelnut Thumbprint Cookies, especially when I want to impress friends and family. The combination of rich chocolate and creamy hazelnut spread creates a delightful explosion of flavors that’s hard to resist. Baking these cookies is a breezy experience, as the dough comes together quickly and bakes perfectly to create a tender and slightly chewy texture. The thumbprint, filled with a luscious hazelnut chocolate center, makes these cookies not just a treat, but a delicious eye-catching dessert!
When I first baked Chocolate Hazelnut Thumbprint Cookies, I was experimenting with different fillings. I found that using a combination of chocolate and hazelnut creates a deliciously rich flavor that pairs beautifully with the buttery cookie base. I also discovered that chilling the dough for a short time before shaping the cookies intensely improved their texture, preventing them from spreading too much in the oven. This little step makes a big difference!
Over the years, I've adapted my recipe to include a hint of sea salt on top, which beautifully contrasts with the sweetness. It's amazing how a simple tweak can elevate a recipe from good to fantastic! Whenever I make these cookies for gatherings, they are always the first to disappear!
Why You'll Love These Cookies
- Delicious combination of chocolate and hazelnuts
- Soft and chewy texture that melts in your mouth
- Perfectly customizable with your favorite spreads
The Science Behind the Ingredients
The key ingredients in Chocolate Hazelnut Thumbprint Cookies work harmoniously to produce that unforgettable flavor and texture. Unsalted butter, when creamed with sugars, introduces air into the mixture, resulting in a soft and tender cookie base. This is crucial because it not only influences how the cookies rise but also how they melt in your mouth. Using room temperature butter is essential for achieving that perfect creamy consistency, so plan ahead for best results.
Cocoa powder adds not just a rich chocolate flavor, but also a hint of dryness that balances well with the creaminess of the hazelnut spread. Make sure to use high-quality cocoa powder for the best flavor outcome, as this can significantly impact the depth of taste in the final cookies. Substituting with Dutch-processed cocoa can enrich the chocolate flavor, but remember to adjust any baking powder used since it interacts differently with acidity.
Perfecting the Thumbprint Technique
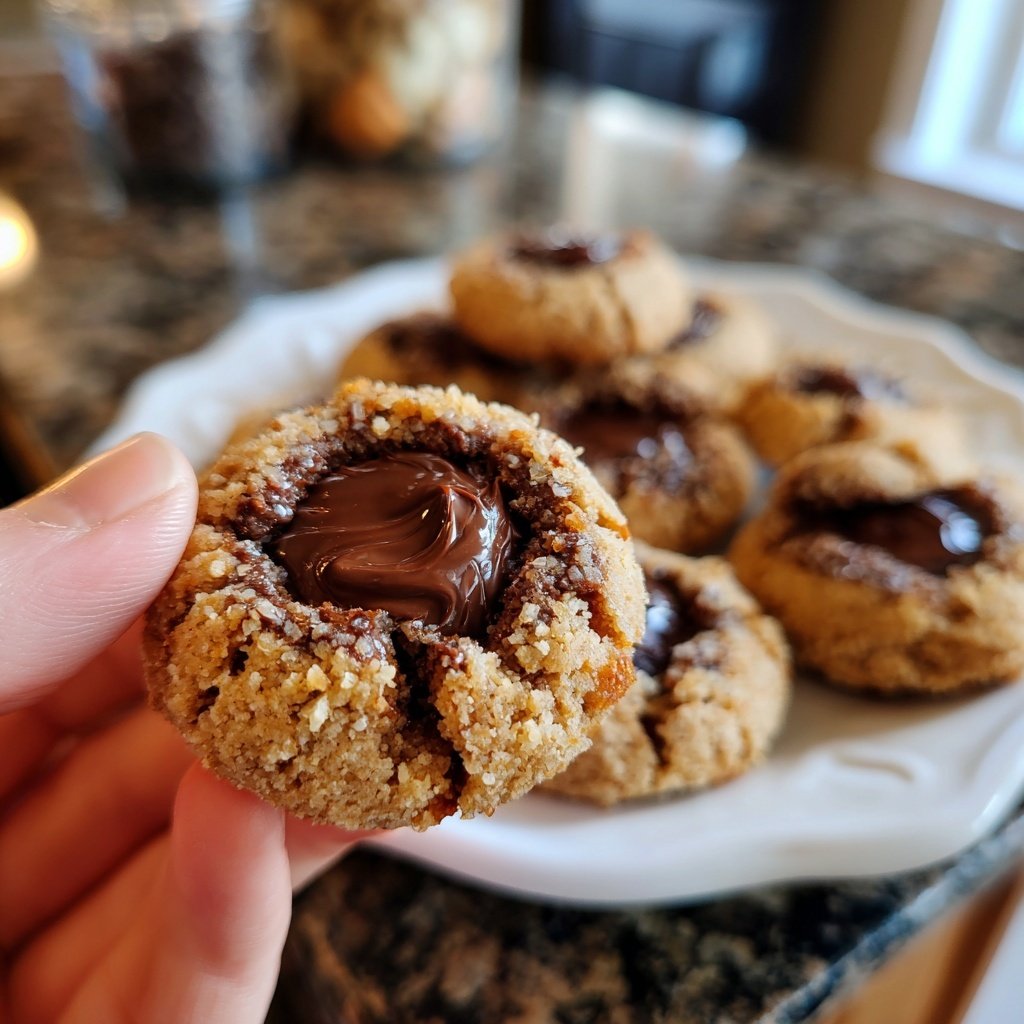
Creating a perfect thumbprint in the cookies is crucial for holding that luscious hazelnut filling. I recommend using a slightly wet thumb or back of a teaspoon when making the indentation to prevent the dough from sticking. Aim for a depth of about half an inch, ensuring there’s enough space for the filling but not too deep that the cookie structure collapses while baking. This technique ensures that each cookie receives just the right amount of filling to maximize flavor in every bite.
After filling with hazelnut spread, don't skip the optional sprinkle of sea salt. This small addition creates a beautiful contrast, cutting through the sweetness and enhancing the overall flavor profile. If you'd like to experiment, you can also try different variations of fillings, such as dark chocolate ganache or a spoonful of raspberry jam for a tart complement to the chocolate flavor.
Storage and Make-Ahead Tips
These cookies can be made ahead of time, which is perfect for busy bakers. Prepare the dough, roll it into balls, and arrange them on a baking sheet. Instead of baking right away, wrap the sheet tightly in plastic wrap and freeze it. When you’re ready to bake, you can directly place the frozen balls on a baking sheet and adjust the baking time to about 15-17 minutes. This allows you to enjoy freshly baked cookies whenever you want without the hassle of making the dough from scratch each time.
For storage, keep the baked cookies in an airtight container at room temperature for up to a week. If you want to prolong their shelf life, you can freeze them for up to three months. When ready to enjoy again, let them thaw at room temperature or gently warm them in the oven for a few minutes to restore their original texture, reminding you of that fresh-out-of-the-oven experience.
Ingrediënten
Gather these ingredients for the ultimate cookie experience:
For the Cookies
- 1 cup unsalted butter, softened
- 2/3 cup granulated sugar
- 2/3 cup light brown sugar, packed
- 2 large eggs
- 1 teaspoon vanilla extract
- 2 cups all-purpose flour
- 1/2 cup unsweetened cocoa powder
- 1 teaspoon baking powder
- 1/4 teaspoon salt
For the Filling
- 1 cup chocolate hazelnut spread
- Sea salt for topping (optional)
Make sure to measure accurately for the best results!
Bereidingswijze
Follow these easy steps to make your cookies:
Prepare the Dough
In a large bowl, cream together the softened butter, granulated sugar, and brown sugar until light and fluffy. Beat in the eggs one at a time, followed by the vanilla extract. In another bowl, whisk together the flour, cocoa powder, baking powder, and salt. Gradually add the dry ingredients to the wet mixture, mixing just until combined. Chill the dough in the refrigerator for 10-15 minutes.
Shape the Cookies
Preheat your oven to 350°F (175°C). Scoop tablespoon-sized portions of dough and roll them into balls. Place them on a parchment-lined baking sheet, leaving space between them. Using your thumb or the back of a teaspoon, make an indentation in the center of each cookie.
Fill and Bake
Fill each indentation with a small amount of chocolate hazelnut spread. Sprinkle with sea salt if desired. Bake in the preheated oven for 12-15 minutes until the edges are set. Let cool on the baking sheet for a few minutes before transferring to a wire rack to cool completely.
Enjoy your delicious creations!
Professionele Tips
- For added richness, consider toasting the hazelnuts before adding them to your cookies. This will enhance their flavor and give your thumbprint cookies an extra crunch!
Flavor Variations
Feel free to get creative with your thumbprint filling! While chocolate hazelnut spread is a classic choice, there are many ways to personalize this recipe. Consider using white chocolate spread or even a homemade Nutella variant for an artisanal touch. For those who prefer a fruity accent, try using a dollop of apricot or cherry preserves in place of the spread for an unexpected twist that complements the rich chocolate.
If you want to add an extra layer of flavor, consider mixing in chopped roasted hazelnuts into the dough or sprinkling them over the top before baking. This not only elevates the texture but also gives a beautiful visual appeal to your cookies.
Troubleshooting Common Issues
If you find your cookies are spreading too much during baking, it might be due to overly warm dough. Make sure to chill your dough adequately before shaping it. If you've already baked them and they spread too much, you can reshape them while they are still warm using the back of a spoon to redefine the thumbprint area gently.
Another common issue is underbaking the cookies, which can leave them overly soft and doughy. Aim for a golden edge and set center; the cookies will continue to firm up as they cool. If unsure, I recommend using a toothpick to check the doneness; it should come out clean, except for the melted chocolate spread.
Vragen Over Recepten
→ Can I use different types of nut butter?
Yes! You can substitute the chocolate hazelnut spread with almond or peanut butter for a different flavor.
→ How should I store these cookies?
Store the cookies in an airtight container at room temperature for up to one week.
→ Can I freeze the dough?
Absolutely! You can freeze the cookie dough for up to three months. Just let it thaw in the refrigerator before baking.
→ What can I use instead of eggs?
You can use flaxseed meal mixed with water as a vegan substitute, or other egg replacements like applesauce or banana puree.
Chocolate Hazelnut Thumbprint Cookies
Gemaakt door: Allegra Stone
Recepttype: Creatieve bakideeën
Vaardigheidsniveau: Beginner
Eindportie: 24 cookies
Wat je Nodig Hebt
For the Cookies
- 1 cup unsalted butter, softened
- 2/3 cup granulated sugar
- 2/3 cup light brown sugar, packed
- 2 large eggs
- 1 teaspoon vanilla extract
- 2 cups all-purpose flour
- 1/2 cup unsweetened cocoa powder
- 1 teaspoon baking powder
- 1/4 teaspoon salt
For the Filling
- 1 cup chocolate hazelnut spread
- Sea salt for topping (optional)
Stappen
In a large bowl, cream together the softened butter, granulated sugar, and brown sugar until light and fluffy. Beat in the eggs one at a time, followed by the vanilla extract. In another bowl, whisk together the flour, cocoa powder, baking powder, and salt. Gradually add the dry ingredients to the wet mixture, mixing just until combined. Chill the dough in the refrigerator for 10-15 minutes.
Preheat your oven to 350°F (175°C). Scoop tablespoon-sized portions of dough and roll them into balls. Place them on a parchment-lined baking sheet, leaving space between them. Using your thumb or the back of a teaspoon, make an indentation in the center of each cookie.
Fill each indentation with a small amount of chocolate hazelnut spread. Sprinkle with sea salt if desired. Bake in the preheated oven for 12-15 minutes until the edges are set. Let cool on the baking sheet for a few minutes before transferring to a wire rack to cool completely.
Extra Tips
- For added richness, consider toasting the hazelnuts before adding them to your cookies. This will enhance their flavor and give your thumbprint cookies an extra crunch!
Voedingswaarde (Per Portie)
- Calories: 160 kcal
- Total Fat: 10g
- Saturated Fat: 4g
- Cholesterol: 20mg
- Sodium: 85mg
- Total Carbohydrates: 18g
- Dietary Fiber: 1g
- Sugars: 10g
- Protein: 2g